
So you’re putting together a spreadsheet? You’ve already taken the first step toward organizing your information is a much more useful way that simple text documents.
But spreadsheets are much more useful than giving you columns and rows. I’ve opened so many spreadsheets that could just use a few tweaks to be cleaner and more effective. Here are five things you should do each time you create a spreadsheet.
Determine where the file should be saved
One complaint I hear often from teams is that it’s hard to find needed documents. If your using a cloud-based suite, like Google, this is only made more complicated by the ease of making new documents. One link click and voila – you have a spreadsheet. But the default behavior is to save that in “My Drive,” a folder without share permissions.
There’s nothing wrong with keeping it private, but consider having your own folder structure and move the document to a folder that makes sense. If you’re working on a team, this will likely need to be in a shared drive. Do this now and save yourself from creating permission hurdles later on.
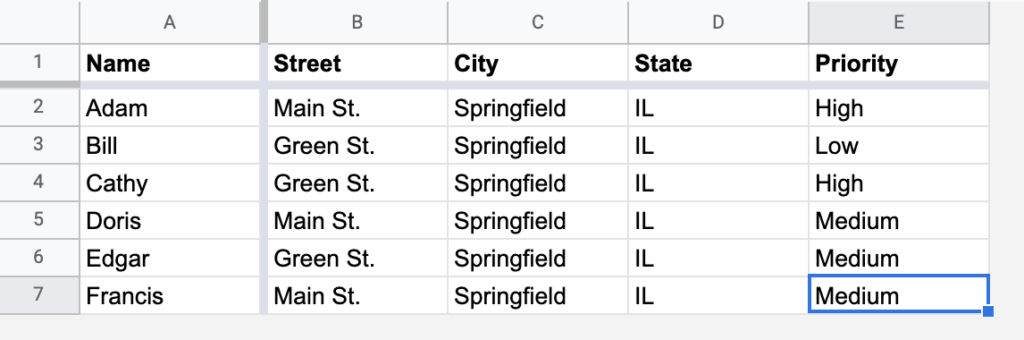
Decide on your column headers
Be intentional with the data you are storing in your spreadsheet and stick to it. This is just an initial step—you can easily add columns later on—but it’s best to think about all the possibilities now. I’d rather remove a column I didn’t need then have to go back and populate more data.
Think about all the ways you may want to sort the data. This is one area I see people get messy—they end up coloring rows that are important. But how will they easily sort that data? Instead, create columns for any classifications.
- Priority: High, Medium, Low
- Status: Assigned, Working, Done
This way, you and your team will be able to sort the items that are a currently only “assigned” with high priority.
Lock your header row; bold the text
This seems to be a little-known feature but it can be a game-changer for people working with large sheets. You can lock the header row.
All it takes is to “pull down” this bar to the left of your sheet. You can also right-click and tell the sheet to lock the row. Now, as a user scrolls, the header remains visible and the context of the information is preserved!
It’s possible to lock multiple rows. I’ll often do two if I have complicated headings that I was to categorize. More that that is not usually necessary and makes the document hard to navigate.
A final touch: bold the text of this row or add some background color to help with legibility.
Delete all the extra columns
So you’ve decided on eight column headers. That means there are another 18 that are just visual garbage. Google Sheets defaults to 26 columns (a-z). That’s just a default. It’s on you to tell if how many you need.
Removing the extras will make it easier to scroll around while also protecting the integrity of the system you set up. Again, you can always add columns later, but do that on your own terms.
Delete all the extra rows
How much data are you going to enter? Twenty records at first with more to come? Then you don’t need 10,000 rows—the Google default.
Adding rows is easier than adding columns, so give yourself a few extra now and add a batch when needed.
[Optional] Lock your first column
This is especially necessary when dealing with a lot of columns. Have you ever scrolled to the right and lost track of what row you needed to look at? So then you remember “row 53” and you scroll. That’s completely unnecessary.
Just lock the first column like you did for the header rows, and you’ll see the relevant name as you scroll away.
Stick to it!
This is the beauty of spreadsheets: data that follows a structure. It allows you to work with the data in powerful ways. If you need to add anything that doesn’t fit your structure, create a new sheet/tab and give it a new structure.
Spreadsheets are not meant to just be looked at, they are meant to be living tools that can be rearranged and maintain the integrity of the information.
Once you get these principals down, you’re ready for some advanced lessons into the capabilities of spreadsheets.